Learn how to create and publish content in Drupal CMS using any available content type. You’ll start by creating and previewing a draft, then publish it to make it visible on your site.
Back to topGoal
Create and publish a new content item using any content type.
Back to topPrerequisites
- You’ll need at least one content type available on your site, such as Basic page, Article, or a custom type. Learn how to add a custom content type (Drupal User Guide) or browse and install recommended add-ons (Drupal CMS User Guide) to add content types pre-configured with smart defaults.
What is “content” in Drupal CMS?
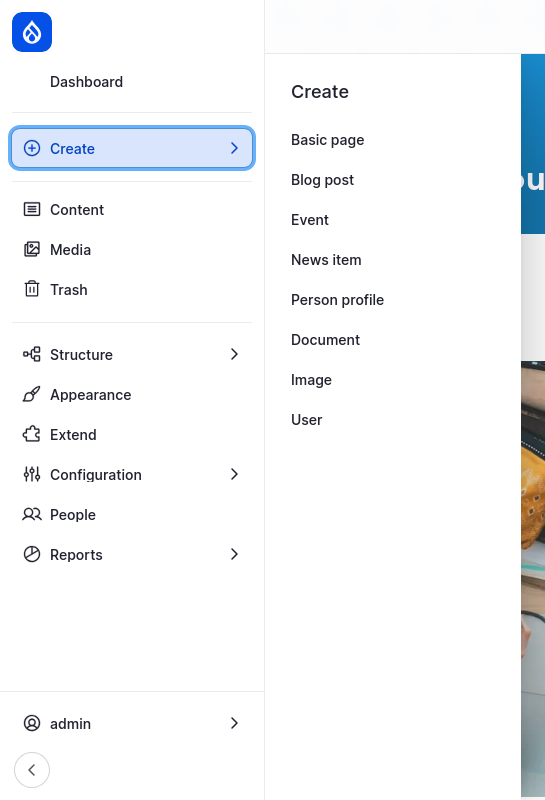
When you access the Create menu in Drupal CMS, you’ll see different options ranging from Basic page to User. “Content” in Drupal CMS can mean content types that create pages on your site that site visitors can access. Or content can be different kinds of entities that are used in a variety of ways on your site. For example, an image media item can be embedded in a blog post or a user can be selected as the author of a news item. In this tutorial, we’ll focus on creating content that creates pages on your site with a URL that can be accessed by your site’s visitors, and optionally added to a navigation menu.
Back to topStep #1: Choose a content type
Using the administrative toolbar, go to Create (node/add), and select the content type you want to use.
If you don’t see the content type you need, go to Extend > Recommended (/admin/modules/browse/recipes) and browse the add-ons to see if there is an option that meets your needs. For example, select the Install button for Blog to add a Blog feature to your site.
After installing an add-on, reload the page to see the new content type appear in the Create menu. Learn more about adding functionality with smart defaults.
Tip: Before creating multiple content items, make sure your content type is configured in a way that meets your site’s needs, and that you and your content editors understand when to use certain content types and how to add content to each type of field.
Back to topStep #2: Create a draft
Fill in the form with details for your content:
- Title: Enter a descriptive title.
- Description: Add a short summary or teaser. Some content types may display this in search results or listings.
- Body or main content: Add your formatted text, images, and other content.
- Fill in other content type specific fields as needed. Field-specific help text appears under each field.
- Customize the page’s URL using the URL alias field. Learn more: Customize the URL of a page.
- In the sidebar, locate the Save as dropdown, choose Draft and click Save. If there isn’t a Save as dropdown, at the top of the form, toggle off Published then press Save to save the content without publishing it.
- Once the draft or unpublished content is saved, it may be shared with others on your team for review, or edited by anyone with a role that has permission to edit this type of content. Learn more: Concept: Users, Roles, and Permissions (Drupal User Guide)
Step #3: Preview content in all view modes
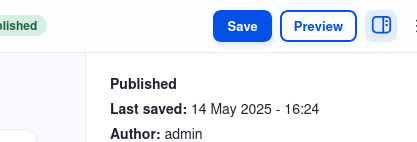
You can preview content in all configured view modes by selecting the Preview button, which appears next to the Save button at the top of the form.
- On a Create new content form or an Edit content form, select the Preview button.
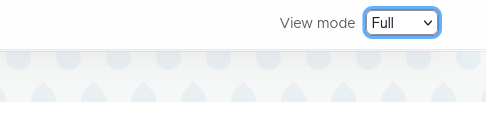
- From the View mode dropdown, select the view mode you want to preview.
- Once you are done previewing your content in each configured view mode, click the link, Back to content editing.
What is a view mode?
A view mode is a configured and themed display of your content. Within a view mode, fields may be shown or hidden, and each field may be configured with a specific field formatter. A field formatter is an option for how to display the data within a field. For example, while the Full view mode displays most or all content fields, the Card view mode might display only a title and summary with the image configured to use a smaller image style. Learn more: Concept: View Modes and Formatters (Drupal User Guide).
Back to topStep #4: Publish content
After creating a draft of the page and previewing the content to ensure it looks correct, publish your page to share it with the world.
To publish content:
- Using the administration toolbar, go to Content (/admin/content).
- Under the Published status dropdown, select Unpublished. Or, select the Moderated content tab. Filter the list to the appropriate type of content and Moderation state: Draft.
- Find the page in the list and select the Edit button.
- In the sidebar, the Save as should be Draft. Set Save as to Published.
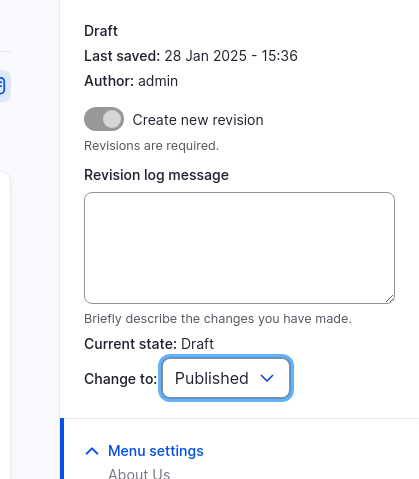
- Select the Save button.
Add a menu link to a page
Pages can be added to your site navigation by creating a menu item. See Add a menu link to a page to learn how.
Back to topNext
Learn more about content modeling and the different content types that you can use with Drupal CMS.
- Understanding content modeling
- What are basic pages?
- Events in Drupal CMS
- To add pre-configured content types to your site (that you can customize as needed), see install recommended add-ons.
- To learn more about adding custom content types to Drupal, including Drupal CMS, see the Drupal User Guide chapter, Setting Up Content Structure.
Wrap-up
In this tutorial, we walked you through how to create a new draft of any type of content, preview the content in different view modes, and publish the content. Once you have a content type configured to your satisfaction and organizational needs, you are ready to create content for your Drupal CMS site.
Back to top