The Drupal CMS set up process asks several questions designed to give as much – or as little – a head start as you would like in setting up your new site. Let's walk through each step you’ll encounter during setup.
Get started
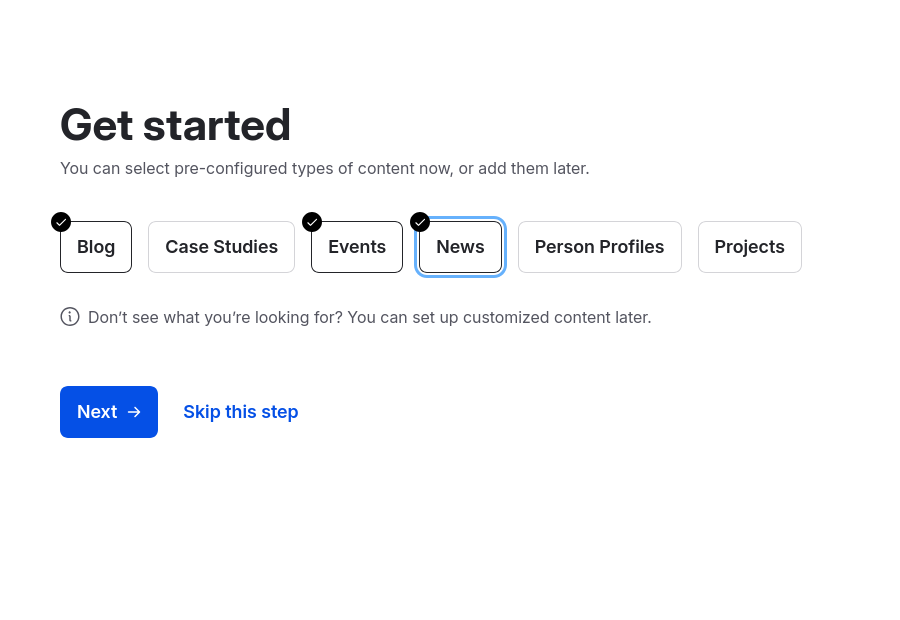
Do any of these options align with your content goals? Select the option to activate features and example content preconfigured with smart defaults. Feel free to skip this step. You’ll be able to add these features later.
Give your site a name
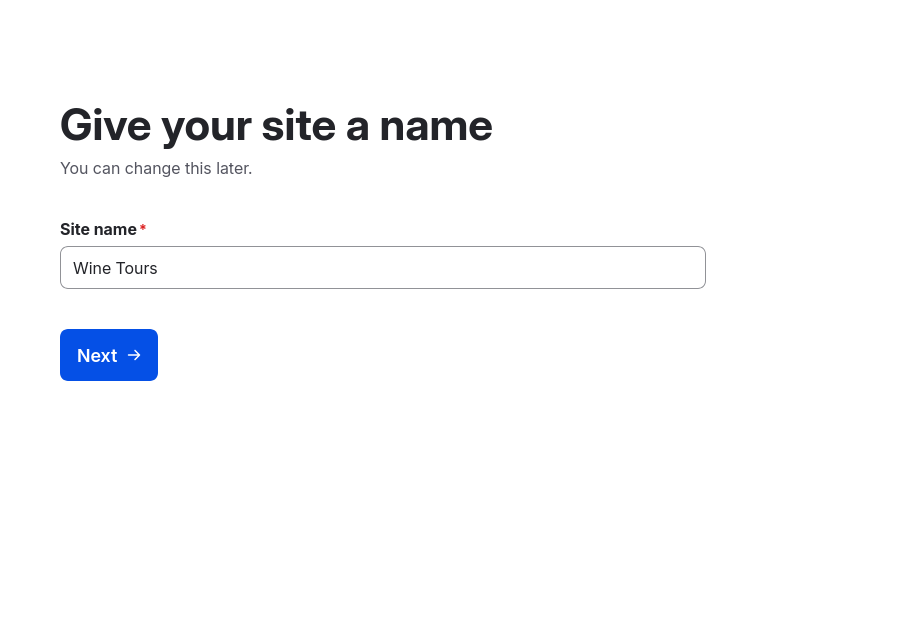
Enter a name for your site or keep the provided default name. This name will be displayed in the header area of the default theme. You will be able to update the site name later – as well as the theme.
Create an account
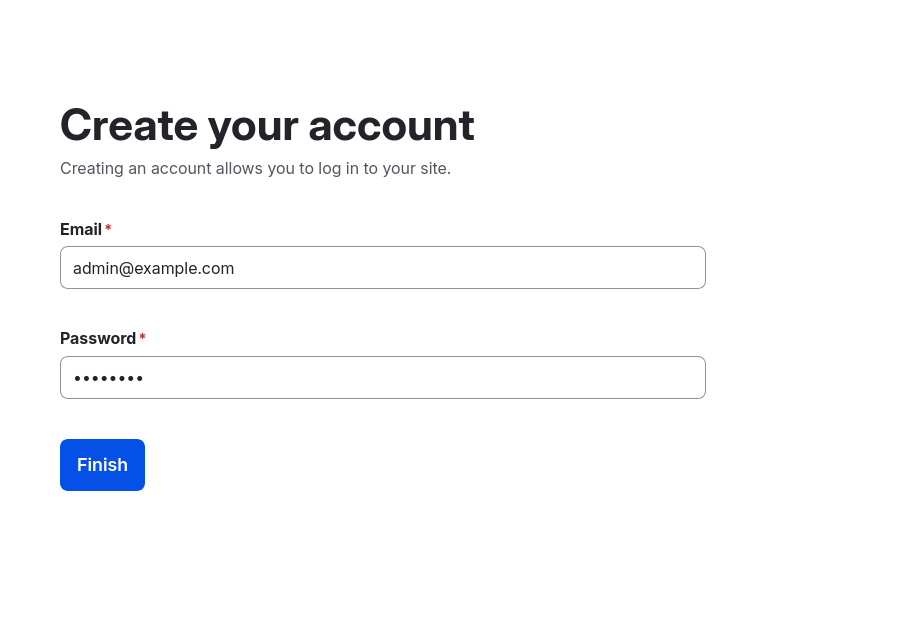
Enter an email address and password to create the account you will use to administer your site. You’ll be able to invite colleagues to create their own accounts later – after you’ve moved your site from your computer to a hosting provider where they can access it, too.
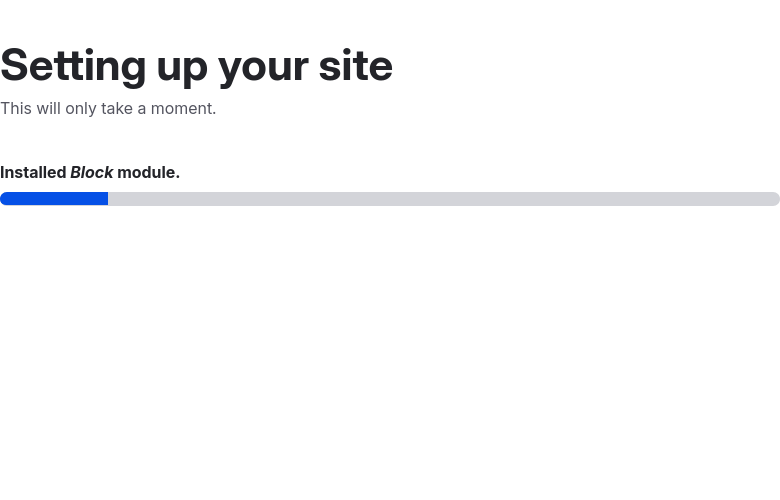
After running the set up process, you’ll be directed to log in using the email and password you entered during set up. Then you'll be directed to the Dashboard. See the Top tasks to get started building your awesome new site!
What’s next?
Once you've landed on the Dashboard, take a little time to get familiar with the navigation and features of Drupal CMS. Learn more about getting around Drupal CMS.
Wrap-up
The Drupal CMS set up process is designed to give you a head start in setting up your site–if you want it. In this tutorial, we walked through each of the steps, and provided a bit more context. Remember, you can add new features and functionality to your site later on. Now, learn how to get around Drupal CMS.
Back to top